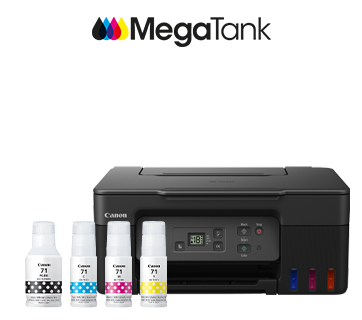
- Turn on the Canon printer by pressing the power button.
- Make sure the IJ Scan Utility is installed to your device.
- Prepare the document to be scanned, such as a photo.
- Place the photo on the scanner glass.
- Search and open the IJ Scan Utility application with these options:
• Windows 10: From the Start Menu > All Apps > Canon Utilities > IJ Scan Utility
• Windows 8.1: Start > IJ Scan Utility
• Windows 7: Start > All Programs > Canon Utilities > IJ Scan Utility - Start IJ Scan Utility > Settings.
- When the Settings dialog box appears > Photo Scan.
- Select “Check scan results and specify save settings” checkbox, then click OK.
- Click Photo on IJ Scan Utility menu, and the scanning process will start.
- When scanning is completed, the Save Settings dialog box appears.
How to Scan on a Canon Printer (Windows and Mac OS) - Canon Indonesia
Follow These Simple Steps to Scan
from Your Multifunction Printer
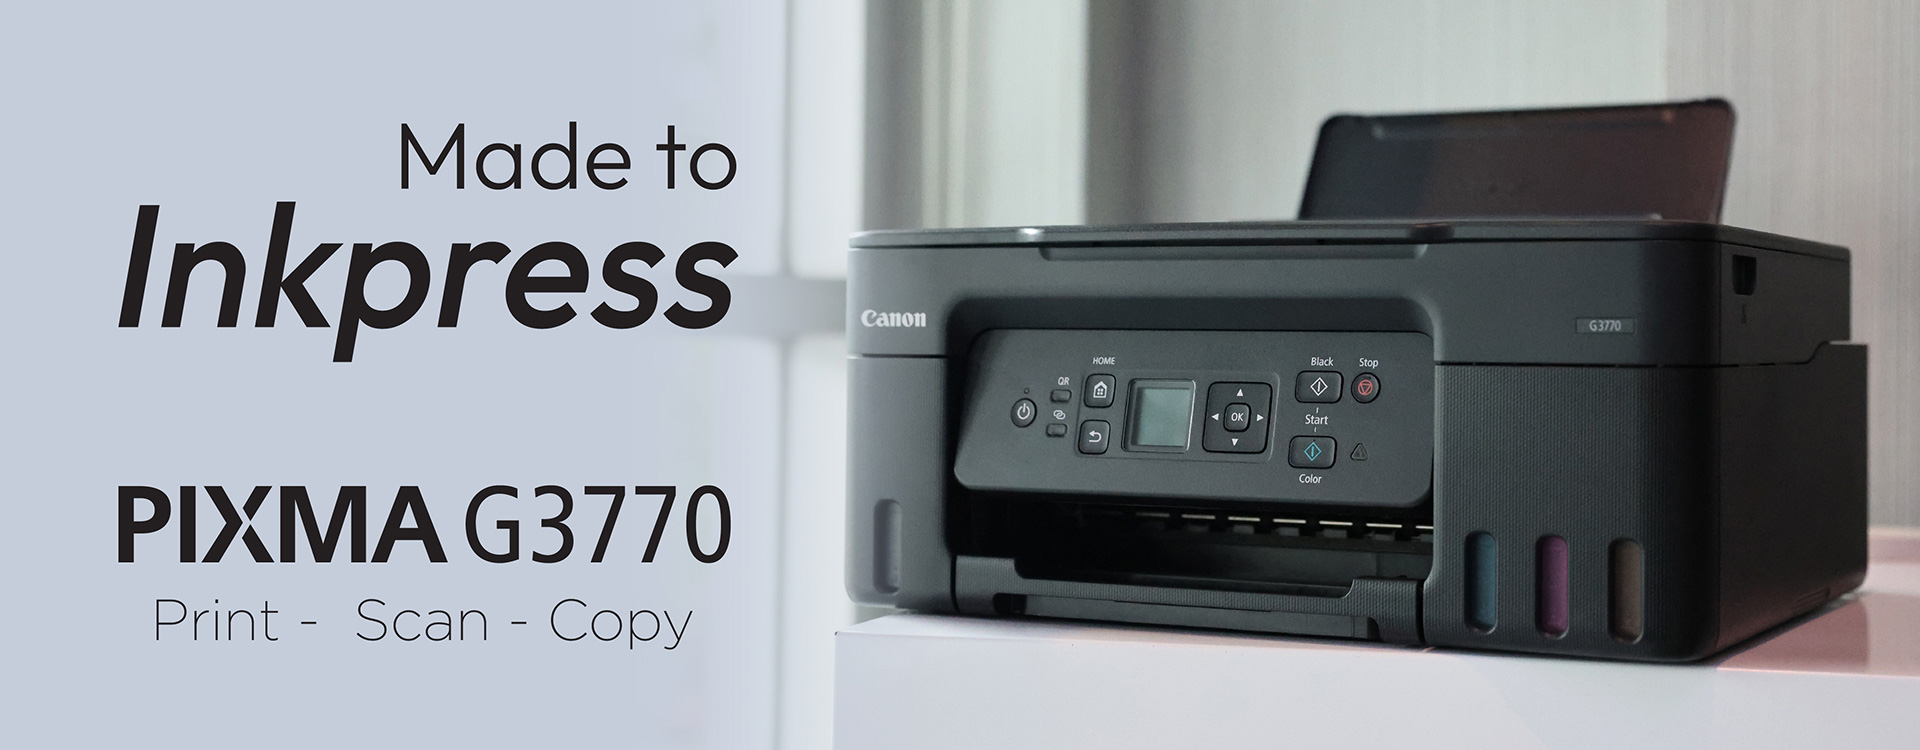
By having a multifunction printer, you can directly scan physical documents into a digital form. Later, the scanned file can not only be saved digitally, but also sent via email. The document scanning process can be done in several ways as follows.
Scanning on Canon printer with Windows (IJ Scan Utility)
Where to Find Your Scanned Files on Windows
The default save folders are as follows:
- Windows 10/Windows 8.1: Documents folder
- Windows 7: My Documents folder
So, those steps above are some ways you can try to find out how to scan on a Canon printer using Windows or Mac OS. Files that you have scanned can also be edited and stored in any folder you want. Hope this helps!
