27-Agu-2008
8200300100
 , and then press the <FUNC./SET> button
  to specify the item.
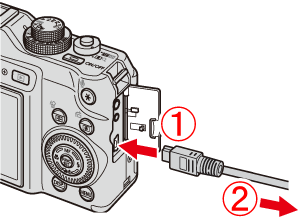
 Connect the [interface cable] to the camera's DIGITAL terminal.
 Connect the other end of the cable to printer's USB terminal.
 ) button.
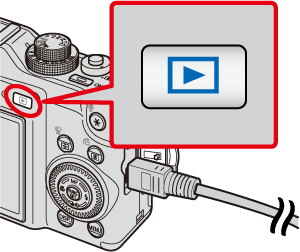
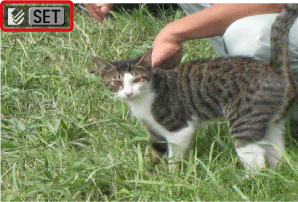
 ) button.
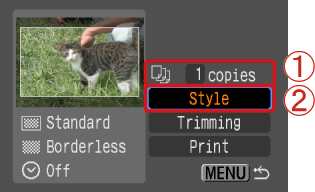
 Specify the number of prints.
 Select [Style], and then press the camera's <FUNC./SET> (
 ) button.
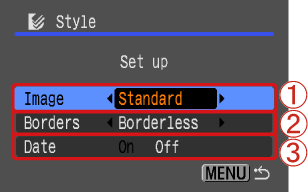
 Specify the print layouts.
 Specify the border settings. Select [Borders] to add borders to the print.
 Specify the date settings. Select [On] to add dates to the print.
 ) button after specifying the settings.
 Check the specified items.
 Select [Print], and then press the <FUNC./SET> (
 ) button to start printing.