


How to configure the print server (Windows 98/Me)
Solusi
NOTE
The screen shots used in this section are from Windows Me.
Preparing the Printer Sharing Settings:
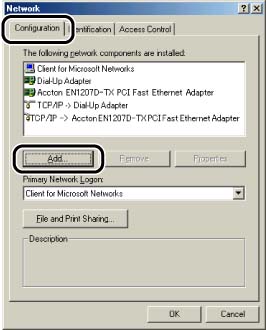
1. Double-click [My Computer] -> [Control Panel] -> the [Network] icon.
2. Display the [Configuration] sheet, then click [Add].
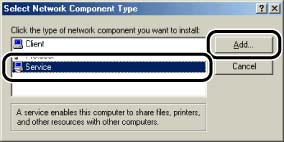
3. Select the [Service] icon, then click [Add].
4. Select [File and printer sharing for Microsoft Networks], then click [OK].
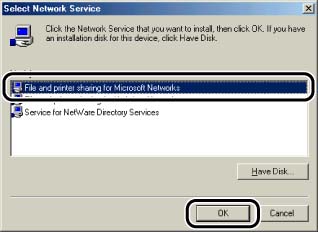
The [Select Network Component Type] dialog box appears first, then the [Network] dialog box reappears.
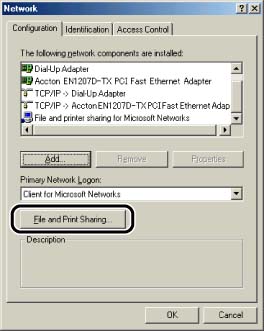
5. Click [File and Print Sharing].
6. Make sure that [I want to be able to allow others to print to my printer(s).] is selected, then click [OK].

7. Display the [Access Control] sheet and select either [Share-level access control] or [User-level access control].
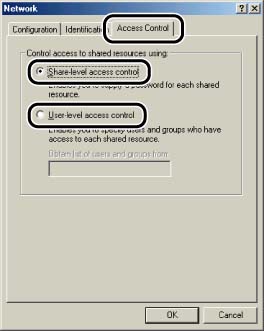
8. Click [OK], then restart Windows.
Printer Sharing Settings:
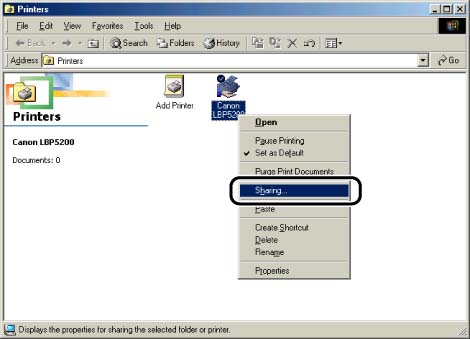
1. From the [Start] menu, select [Settings] -> [Printers].
2. Right-click the icon for this printer, then select [Sharing] from the pop-up menu.
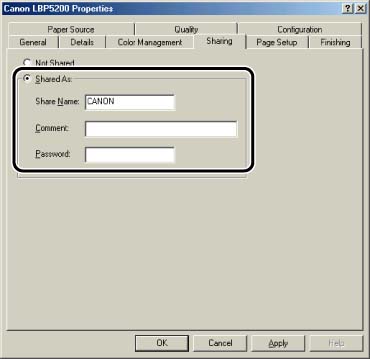
3. Select [Shared As]. Change [Share Name], and enter [Comment] and [Password] as needed.
NOTE
a. If you selected [User-level access control] in Step 7 of the above procedure, "Preparing the Printer Sharing Settings", click [Add] and select the users who can use the printer.
b. Do not enter blank or special characters for the share name.
4. Click [OK].
The printer icon changes to a shared printer icon.