Check 1: Print the Nozzle Check Pattern and perform any necessary maintenance operations such as Print Head Cleaning
Print the Nozzle Check Pattern to determine whether the ink ejects properly from the print head nozzles.
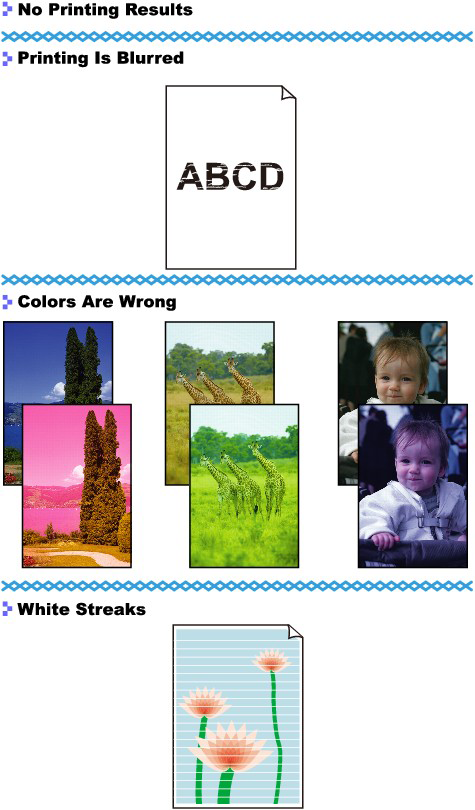
- If the Nozzle Check Pattern is not printed correctly:
Check to see if a particular color's ink tank is not empty.
If the Nozzle Check Pattern is not printed correctly though ink is sufficient, perform the Print Head Cleaning and try printing the Nozzle Check Pattern again.
- If the problem is not resolved after performing the Print Head Cleaning twice:
Perform the Print Head Deep Cleaning.
If the problem is not resolved after performing the Print Head Deep Cleaning, turn off the printer and perform another Print Head Deep Cleaning after 24 hours.
- If the problem is not resolved after performing the Print Head Deep Cleaning twice:
If Print Head Deep Cleaning does not resolve the problem, the print head may be damaged. Contact the service center.
Check 2: Did you confirm the paper and print quality settings?
Check 3: Check the status of ink tanks. Replace the ink tank if the ink has run out
Replacing an Ink Tank
When you need to replace an ink tank, follow the procedure below.
Check 4: When using paper with one printable surface, make sure that the paper is loaded with the printable side facing up/down
Load paper with the printable side facing down.
Refer to the instruction manual supplied with the paper for detailed information on the printable side.
Check 5: Is automatic ink quality maintenance enabled?
If automatic ink quality maintenance is disabled, ink in one or more ink tanks may separate, resulting in uneven density. Enable automatic ink quality maintenance by using the printer driver.
1. Make sure that the printer is turned on.
2. Open the printer properties dialog box.
3. Click the Maintenance tab and then Custom Settings.
4. Select the Execute ink quality maintenance automatically check box, then click OK.
5. Confirm the message and click OK.
IMPORTANT
- Enabling automatic ink quality maintenance is recommended. Failure to perform the ink quality maintenance about once a week may affect print quality.
- If automatic ink quality maintenance has been disabled, perform the ink quality maintenance manually about once a week.
Check 6: Make sure that the input profile in the printer driver is set correctly
If printout color of photographs that are taken in Adobe RGB mode is not satisfactory, configure the input profile and then try printing again. It may improve the quality of printout color.
1. Open the printer properties dialog box.
2. On the Main sheet, select Manual for Color/Intensity, and then click Set....
3. On the Matching sheet, select ICM for Color Correction.
4. Select Adobe RGB (1998) for Input Profile.
If Adobe RGB (1998) is not displayed, insert the Setup CD-ROM into the computer's disc drive, then install the Adobe RGB (1998).