Solusi
You can add Cinema-Look filters to AVCHD and MP4 movies saved to a memory, and save them to the other memory card.
The movies will be saved in MP4.
REFERENCE
The effects of Cinema-look filters applied during shooting and those applied when converting to MP4 may differ.
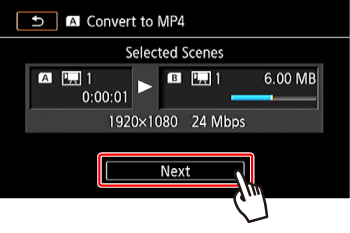
The procedure for adding Cinema-Look filters to recorded scenes is explained below.
1. Set the power switch to MEDIA.
- Open the desired movie index screen.
2. Touch [

].
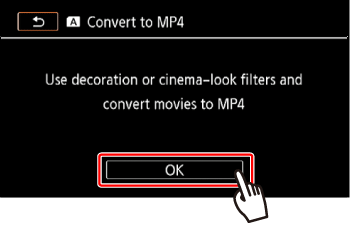
3. Touch [Convert to MP4 [

] or [Convert to MP4 [

].
*The menu for copying from the memory card used for playback to the other memory card will be displayed.
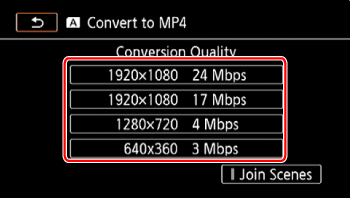
5. Select the desired video quality of converted movies.
NOTE
Before selecting the video quality, touch [Join Scenes] to join the converted movies into one movie.
6. Touch the individual scenes you want to add the filters to.
- A checkmark
 will appear on the scenes you touch. The total number of selected scenes will appear next to the
  .
.
NOTE
To remove all checkmarks at once, touch [Remove All] > [Yes].
10.

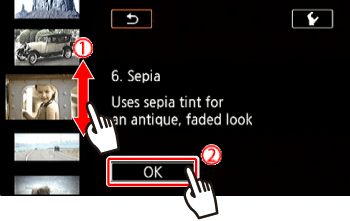
Select the filter you want to add, and then

touch [OK].
NOTE
To Remove the filter, touch [FILTER1-9].
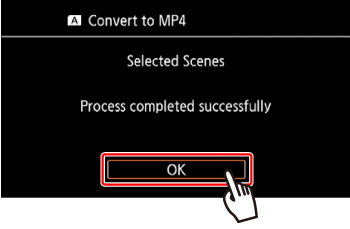
11. Touch [START] to convert the scene.
NOTE
Touch [STOP] to interrupt the operation while it is in progress.
・Based on the following options, movies will be converted and then copied .
| Recording mode before conversion | Video quality options |
|---|
| AVCHD | MP4 |
|---|
| 28 Mbps LPCM (50.00P),28 Mbps (50.00P) | 35 Mbps (50.00P) | Cannot be converted |
| 24 Mbps LPCM, 17 Mbps, 5 Mbps | 24 Mbps, 17 Mbps | 24 Mbps, 17 Mbps, 4 Mbps, 3 Mbps |
| – | 4 Mbps | 4 Mbps, 3 Mbps |
| – | 3 Mbps | 3 Mbps |
● While converting movies, video and audio signals will not be output from the camcorder's terminals.
This concludes the procedure for adding Cinema-Look filters to recorded scenes.

 ].
].
 ] or [Convert to MP4 [
  ].
].
 will appear on the scenes you touch. The total number of selected scenes will appear next to the
  .
. 


 Select the filter you want to add, and then
  touch [OK].