11-Des-2014
8202133800
 ] (2304 x 1728) and cannot be changed.
 ].
].
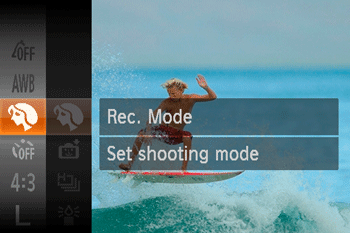
 ] button to display the menu items.
 ], [
], [  ] buttons to choose [Shooting Mode] (If no changes have been made to the settings so far, [Portrait] (
 ) will be displayed).
 ], [
], [  ] button.

 ], [
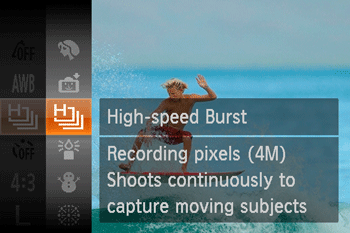
], [  ] buttons to choose [High-Speed Burst] (
 ), and then press the [
  ] button.
 ) icon is displayed on the upper-right part of the screen, the setting is completed.
 ) mode are grouped for display, and these grouped images can be viewed one at a time.
 ) mode as a group, press <MENU> (
 ), and then select [On] for [Group Images] in the [Playback Menu] (
  ) tab. (By default, [On] is selected.)
 ], [
], [  ] buttons to choose an image labeled with [
  ] and then press the [
  ] button.
 ], [
], [  ] buttons to choose [
  ], and then press the [
  ] button.
 ], [
], [  ] buttons will display only images in the group.
 ] button, choose [
  ] in the menu, and press the [
  ] button again
 ] button. You can also browse through images quickly "Navigating through Images in an Index" and magnify them "Magnifying Images" . By choosing [All Images in Group] for "Protecting Images" , "Erasing Multiple Images at Once", "Adding Images to the Print List (DPOF)" , or "Adding Images to a Photobook" , all images in the group can be manipulated at once.
 ] button, choose [Group Images] on the [
  ] tab, and then choose [Off]. However, grouped images cannot be ungrouped during individual playback.