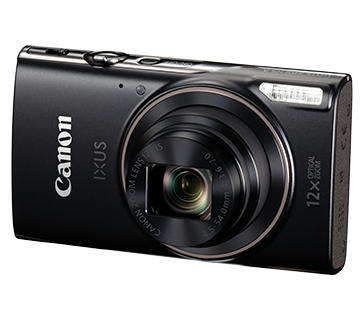
Printing directly from the camera (Easy Print) (PowerShot N2)
Solusi
Easily print your shots by connecting the camera to a PictBridge-compatible printer (sold separately) with the included interface cable.
IMPORTANT
- A Canon SELPHY CP series compact photo printer is used here for the sake of illustration. Screens displayed and available functions vary by printer. Also refer to the printer manual for additional information.
1. Make sure the camera and printer are off.
2. Connect the camera to the printer.
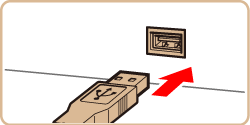
- Open the terminal cover. Holding the smaller cable plug in the orientation shown, insert the plug fully into the camera terminal.

- Connect the larger cable plug to the printer. For other connection details, refer to the printer manual.
3. Turn the printer on.
- The camera is turned on automatically when the printer is turned on.
NOTE
- Press the <Playback> (
 ) button to turn the power on when the camera is not turned on automatically.
4. Drag left or right across the screen to choose an image.
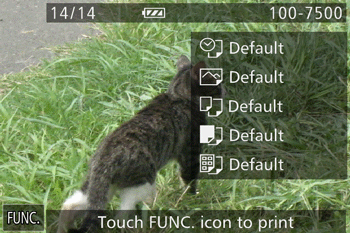
Touch [FUNC.], and then touch [ Print] ( ).
).
 ).
).
5. The printing screen appears.
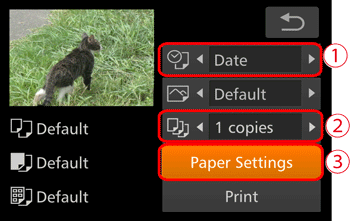
 To add the date, touch [
  ] or [
  ] to choose [Date], and configure the setting.
 Touch [
  ] or [
  ] to choose the number of copies to print.
 Touch [Paper Settings].
6. The paper size setting screen appears.

Touch an option to choose it, and then touch [Next].
[Default] has been selected in the example image above.
7. The paper type setting screen appears.
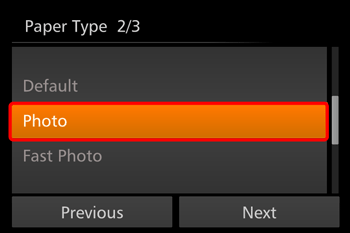
Touch an option to choose it, and then touch [Next].
[Photo] has been selected in the example image above.
8. The page layout screen appears.

Drag up or down and touch [OK] after choosing the desired option.
[Bordered] has been selected in the example image above.
9. The print settings screen appears again.

 Confirm the settings.
 Touch [Print] to begin printing.
IMPORTANT
- For printers or items which cannot be set, the standard settings of the printer applies to printing. For the standard settings of the printer, confirm the instruction manual of the printer in use.

