30-Mei-2017
8202771800
 icon, and camera setting procedures are indicated by the
  icon.
icon.  ] : high, [
  ] : medium, [
  ] : low, [
  ] : weak
 Step 1: Confirming the OS version
 Step 2: Installing Camera Connect on the smartphone
 Step 3: Connecting the camera to the smartphone
 Step 4: Using the smartphone to control the camera during remote shooting
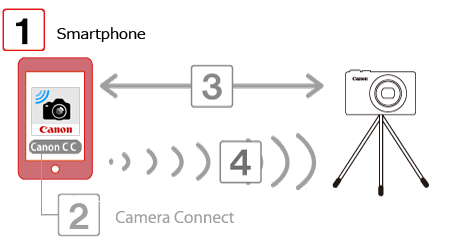
 1. Check the smartphone’s specifications.
 )
)  [About device]
  [Android version].

 1. Touch the [Play Store] application on your smartphone to access Google Play™.
 2. Touch the search icon.
 3.
3.  Enter [Camera Connect] in the search field, and then
  touch [Search].
 4. Choose [Camera Connect] from the displayed search results, and install it on the smartphone.
 5. Touch the menu key, and then touch [Settings](
  ).
). 6. Confirm that the smartphone is not set to [Airplane mode].
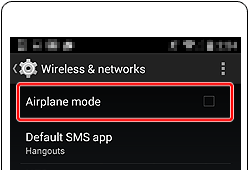
 7. Set the [Wi-Fi] switch to [ON].
 8. Secure the camera.
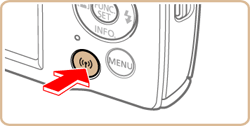
 1. Press the [
  ] button.
 ] , [
] , [  ] buttons to choose [OK], and then press the [
  ] button.
 ) is displayed.
 ] , [
] , [  ] buttons to choose the [Nickname] field, press the [
  ] button to display the keyboard, and then enter the desired nickname. After you have finished entering the nickname, press the [ MENU ] button to return to the registration screen, press the [
  ] button, choose [OK], and then press the [
  ] button.
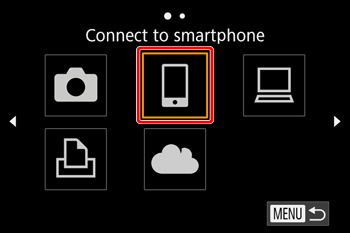
 2. Press the [
  ] , [
] , [  ] , [
] , [  ] , [
] , [  ] buttons to choose [
  ], and then press the
  ] button.
 3. Press the [
  ] , [
] , [  ] buttons to choose [Add a device], and then press the [
  ] button.
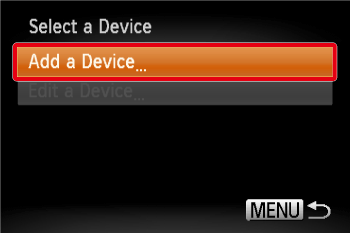
 4. The camera’s SSID is displayed on the screen.
 5. Choose the SSID (network name) displayed on the camera’s screen from the list of access points displayed on the smartphone.
 ] tab on the MENU screen, select [Wireless settings]
  [Wi-Fi Settings]
  [Password], and change the setting to [On], the SSID and the password will appear on the screen and you can improve the security.In this case, enter the password displayed on the camera in the password field on the smartphone when it is displayed.
 6. Tap the [Canon Connect](
 ) application icon on the smartphone to start [Camera Connect].
 7. On the camera selection screen displayed on the smartphone, choose the camera to begin pairing
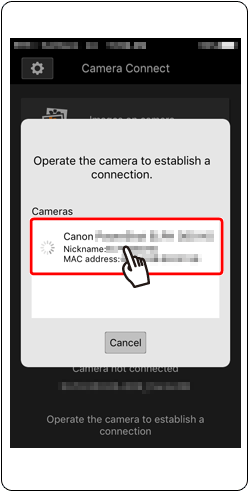
 8. When connecting to a smartphone for the first time, the following screen will be displayed on the camera. In this case, press the [
  ] , [
] , [  ] buttons to choose [Yes], and then press the [
  ] button.
 9. The following screen appears.
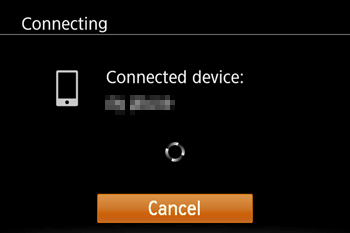
 10. Once you have connected to the smartphone, a screen like the one below will appear.
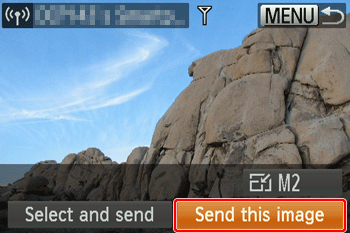
 ] button to open the Wi-Fi menu after the first time, recent destinations will be listed first when you access the Wi-Fi menu. You can easily connect again by pressing the [
  ] , [
] , [  ] buttons to choose the device and then pressing the button [
  ]. To add a new device, display the device selection screen by pressing the [
  ] , [
] , [  ] buttons and configure the setting. If you prefer not to display recent target devices, choose [MENU]
  [
[  ] tab
] tab  [Wireless settings]
  [Wi-Fi Settings]
  [Target History]
  [Off].
 1. In Camera Connect on the smartphone, choose [Remote shooting].
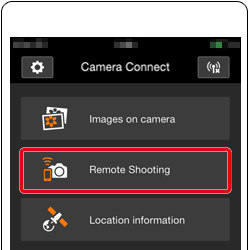
 2. Once the camera is ready for remote shooting, a live image from the camera will be displayed on the smartphone. At this time, a message is displayed on the camera, and all operations except pressing the power button are disabled.
 3. Use the smartphone to control the camera. Press the
  button to shoot.