13-Apr-2016
8202918200

 | Power button | Turn on the power or put Connect Station into the standby state. |
 | Cross keys | |
 | Menu button | Menu screen appears. |
 | Back button | Previous screen reappears. |
 | Set button | Selected item takes effect. |
 | Home button | Home screen appears. |
 | Remote control transmitter | |


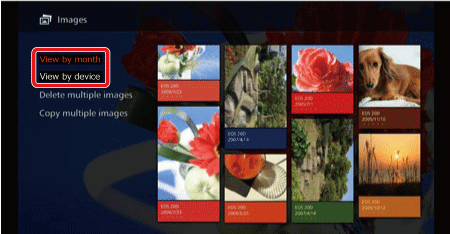

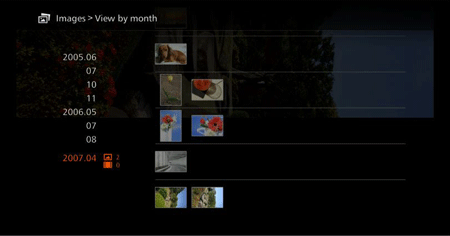

 ] key, you can select images in the thumbnail area.
 ].
]. ], [
], [  ], [
], [  ], [
], [  ] key to browse images, the selection frame may skip.
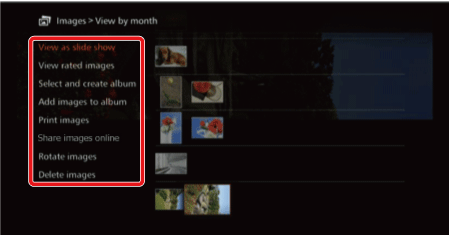
| Menu Items | Settings |
| View as slide show | A slide show of the target images will be played back. |
| View rated images | Only rated images will be displayed. You can set ratings during the playback of images. |
| Select and create album | An album will be created from selected images. |
| Add images to album*1 | Images will be added to a created album. When you select an album from the list and press [SET], images will be added to the selected album. |
| Print images*2 *3 | Selected images are printed. For information on how to print, see Printing with a Wi-Fi Printer (Connect Station CS100) . |
| Share images online | Selected images will be shared via Web service. |
| Rotate images*1 *2 | Selected images will be rotated. Each time you press [SET], images are rotated clockwise by 90°. |
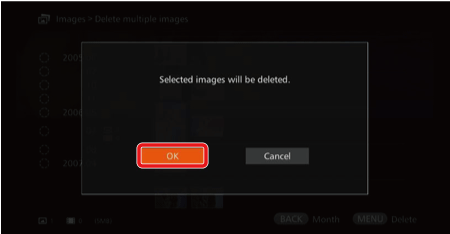
| Delete images | Selected images are deleted. Select an image and press [SET] to append [  ] for the image to be deleted. Pressing [MENU] will delete the image. ] for the image to be deleted. Pressing [MENU] will delete the image. |
| *1 Displayed only when images are selected in the thumbnail area. *2 Not available when a movie is selected. *3 Not available when a printer is not set. | |

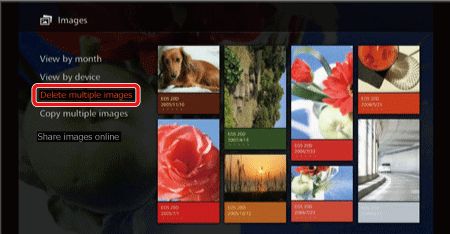
 ] for all the target images.
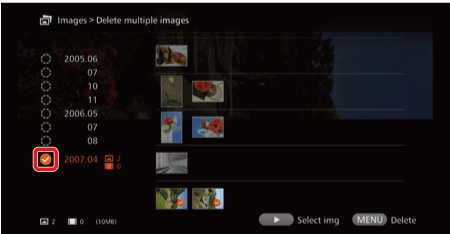
 ] key to select images in the thumbnail area. Select an image and press [SET] to append [
  ] for that image.
 : thumbnail area


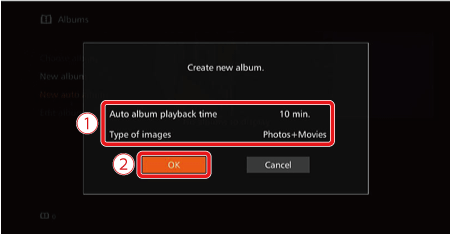
 ] for the images to be compiled into an album.
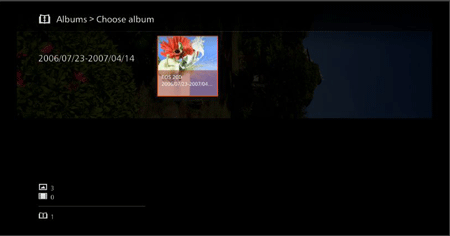
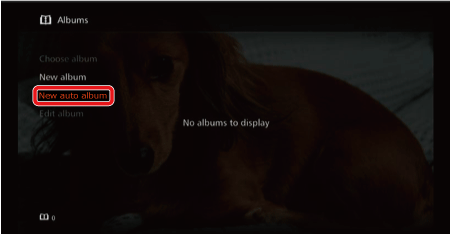
 , select [OK]
 and press the [SET] button, an auto album will be created.


| Menu Items | Settings |
| View album | The images in the album will be displayed as thumbnails. |
| Send album | An album will be sent to another Connect Station via the Internet. |
| Delete album | The selected album will be deleted. |
| Playback settings | Specify the slide show playback settings. You can set the display time for each still photo and playback time for movies. |

| Menu Items | Settings |
| Play from first image | A slide show of the album will be played back. |
| Send album | An album will be sent to another Connect Station via the Internet. |
| Music | Select the background music to be played during the slide show. |
| Edit album | Add images to the album, or remove images from the album. |
| Playback settings | Specify the slide show playback settings. You can set the display time for each still photo and playback time for movies. |

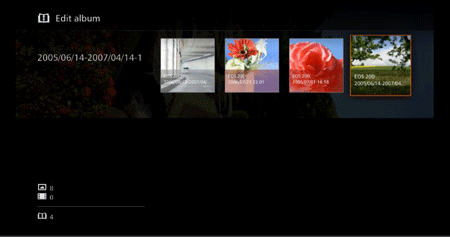

| Menu Items | Settings |
| Copy to memory card | The selected album will be copied to a card. |
| Delete album | The selected album will be deleted. |
 ] for the image to be removed.
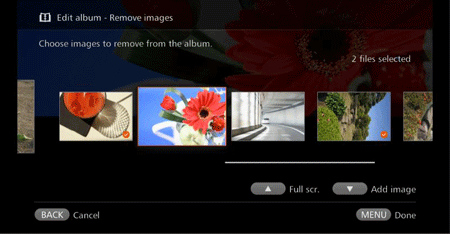
 ] key to display the image selection screen. Select an image and press [SET] to append [
  ] for the image to be added.


| Menu Items | Settings |
 | Displays the next image. |
 | Displays the previous image. |
 , ,  | Rate images with one of five levels. *1 |
| SET | (Photo) Magnify the image*2 (Movie) Pause |
| *1 Cannot be set while the album is being played back. *2 To reduce the image in magnified view, press [MENU]. | |
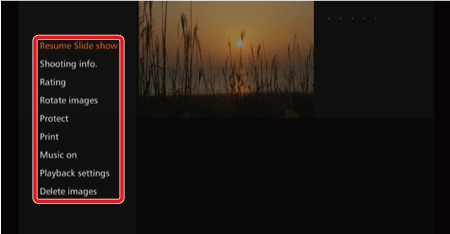
| Menu Items | Settings |
| Slide show | Start/stop slide show. |
| Shooting information | Switch display settings of shooting information. |
| Rating*1 | Rate images with one of five levels. |
| Rotate images*2 | Rotate an image clockwise by 90°. |
| Protect*1 | Enable/disable the protect setting. |
| Print*2*3 | Print the displayed image. |
| Music*1 | Set background music to on/off. |
| Playback settings | Set the display time for each still photo and playback time for movies. |
| Delete images*1 | Delete the displayed image. |
| Remove from album*4 | Remove the displayed image from the album. |
| *1 Not displayed when an album is being played back. *2 Not displayed when a movie is selected. *3 Not available when a printer is not set. *4 Displayed only when an album is being played back. | |