18-Apr-2019
8204436100

 > button.
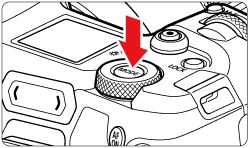
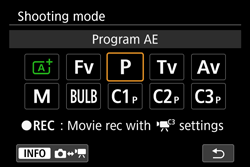
 > dial, to choose either [
  ], [
], [  ], [
], [  ], [
], [  ], [
], [  ] or [
  ].
].
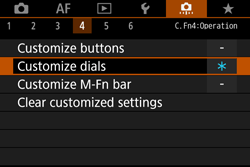
 > button to display the menu screen.
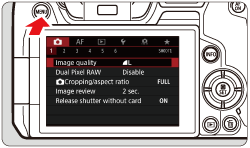
 > button to select the [
  ] tab.
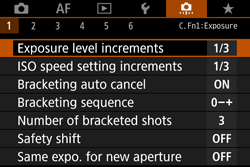 > dial to select the [
  ] tab.
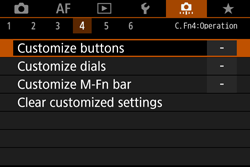
 > button.

 ] and then press the < > button.
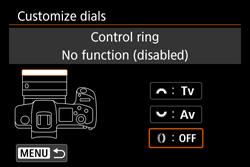 > button.
 > button.
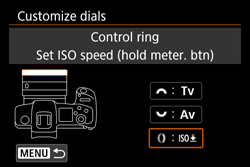
 : Clear all Custom Func. (C.Fn) ]. To clear the settings, select [ : Clear customized settings ].