27-Sep-2019
8204674100
 , and camera setting procedures are indicated by the
  icon.
icon. 1. Confirm the smartphone's settings.
 2. Download Camera Connect from the App Store and install it on the smartphone.
 3. Turn the camera on.
 4. Press the <
  > button.
 5. Press the <
  > <
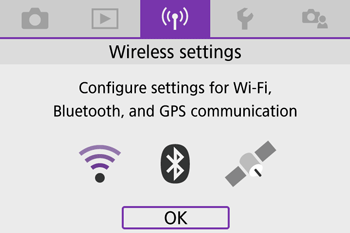
> <  > to choose the [
  ] tab, and press <
  >.
>.
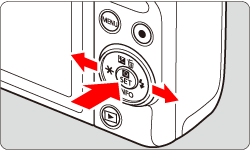
 6. Press the <
  > <
> <  > to choose the [
  1 ] tab.
 7. Press the <
  > <
> <  > to choose [ Wi-Fi/Bluetooth connection ], and press <
  >.
>.
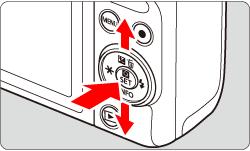
 > <
> <  > keys.
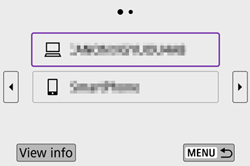

 8. Press the <
  > <
> <  > to choose [ Connect to smartphone ], and press <
  >.
>.
 9. Press the <
  > <
> <  > to choose [ Add a device to connect to ], and press <
  >.
>.
 10. Press the <
  > <
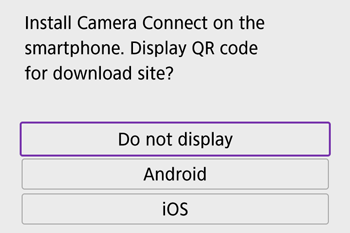
> <  > to choose [ Do not display ], and press <
  >.
>.
 11. Press the <
  > <
> <  > to choose [ Pair via Bluetooth ], and press <
  >.
>.
 12. Press <
  >.
>.
 13. A message is displayed indicating that pairing is in progress.
 14. Touch the [Camera Connect] (
  ) application icon on the smartphone to start Camera Connect.
 15. After the camera is recognized, a camera selection screen is displayed.
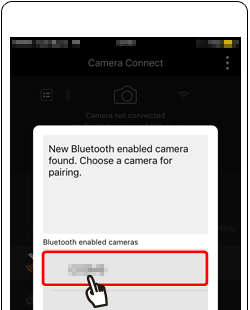
 16. Choose the camera nickname, touch [Pair] to connect.
 17. Press the <
  > <
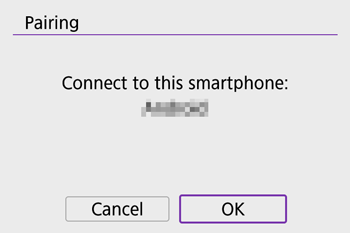
> <  > to choose [ OK ], and press <
  >.
>.
 18. Press <
  > of this screen.
 19. Choose [Bluetooth remote controller] in Camera Connect.
 20. The smartphone screen changes to a screen for remote control via Bluetooth.
 .
.
 21. Touch the
  to take a photo.
 1. Confirm the smartphone's settings.
 2. Download Camera Connect from the App Store and install it on the smartphone.
 3. Turn the camera on.
 4. Press the <
  > button.
 5. Press the <
  > <
> <  > to choose the [
  ] tab, and press <
  >.
>.

 6. Press the <
  > <
> <  > to choose the [
  1 ] tab.
 7. Press the <
  > <
> <  > to choose [ Wi-Fi/Bluetooth connection ], and press <
  >.
>.

 > <
> <  > keys.

 8. Press the <
  > <
> <  > to choose [ Connect to smartphone ], and press <
  >.
>.
 9. Press the <
  > <
> <  > to choose [ Add a device to connect to ], and press <
  >.
>.
 10. Press the <
  > <
> <  > to choose [ Do not display ], and press <
  >.
>.
 11. Press the <
  > <
> <  > to choose [ Connect via Wi-Fi ], and press <
  >.
>.
 12. The SSID (
  ) and password (
  ) will be displayed on the screen.
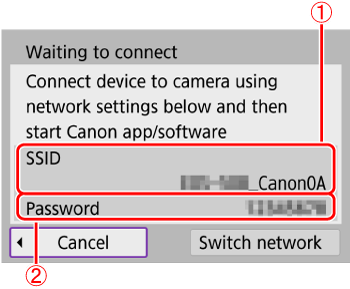
 13. Turn Wi-Fi settings to ON in your smartphone, choose the SSID (
  ) from step 12.
 14. Input password from step 12 (
  ).
).
 15. Once the connection between the camera and the smartphone has been confirmed, press the home button to return to the home screen.
 16. Touch the [Camera Connect] (
  ) application icon on the smartphone to start Camera Connect.
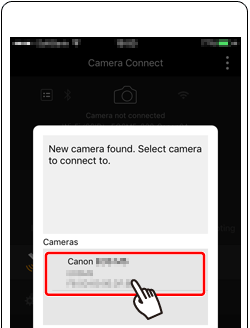
 17. After the camera is recognized, a camera selection screen is displayed.
 18. Press the <
  > <
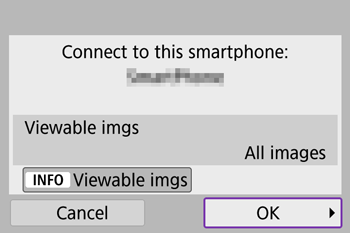
> <  > buttons to choose [OK], and press <
  >.
>.
 19. The camera screen will show [Wi-Fi on].
 20. Choose [Remote live view shooting] in Camera Connect.
 21. Once the camera is ready for remote live view shooting, a live image from the camera is displayed on the smartphone.
 ].
].
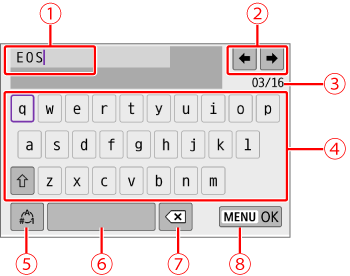
 Input area, for entering text Input area, for entering text |
 Cursor keys, for moving in the input area Cursor keys, for moving in the input area |
 Current no. of characters/no. available Current no. of characters/no. available |
 Keyboard Keyboard |
 Switch input modes Switch input modes |
 Space Space |
 Delete a character in the input area Delete a character in the input area |
 Finish the text entry Finish the text entry |
 , turn the <
  > dial.
 and
and  –
– , use the <
  > cross keys.
 > to confirm input or when switching input modes.