Making Prints from a Memory Card
Making Prints from a Memory Card
This section describes how to insert the memory card into a printer and print images recorded in the memory card.
|
Note:
|
||
|
|
-
|
To select items that are displayed on the printer's LCD monitor, press the bottom at the
|
|
|
|

|
|
|
-
|
Screens, menu listings, or the locations of the buttons may differ depending on the printer model being used.
|
|
|
-
|
When printing from the memory card, please make sure that no cameras or PCs are connected.
|
|
|
-
|
Please use memory cards that have been initialized with the camera. There are cases where images are not recognized if memory cards that were initialized with a PC are used.
|
|
|
-
|
There are cases where images are not displayed or printed correctly if the images were edited on a PC.
|
|
|
-
|
When printing images that were shot with mobile phones, there are cases where the images are not displayed or printed correctly depending on the image size that was set during shooting.
|
|
|
-
|
[SELPHY ES2 / 20] supports DCF standard (Exif Print compliant) and DPOF (v1.00 compliant) image data.
|
1. Turn on the printer and insert the memory card.
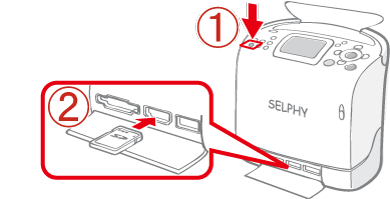
Insert the memory card into the appropriate slot. There are lead-in guides to match the size of the memory cards in [SD/miniSD/MMC+] slot. Please insert small memory cards (miniSD cards) into the lower slot, following the guide. Insert only one memory card.
2. The following screen appears on the printer’s LCD monitor.

3. When pressing the <MENU> button ( ), the following screen appears, so select [Print Settings].
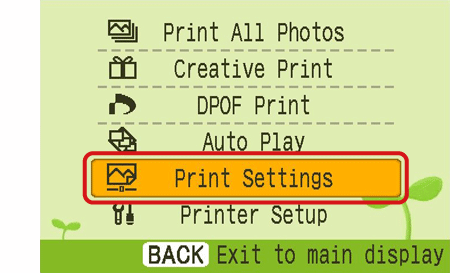
4. The following screen appears. You can set [Date] or [Borders] in this screen. Press the <SET> button ( ) after making settings.
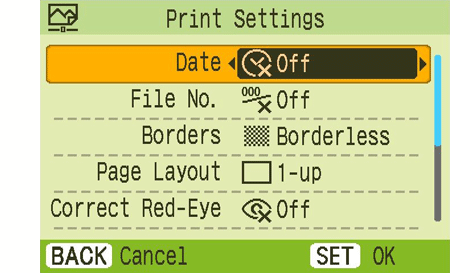
5. The following screen appears, so press the <BACK> button ( ) to return to the image-selection screen.
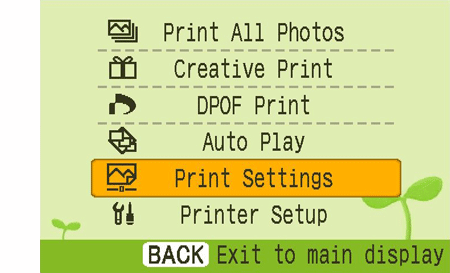
6. The following screen appears.
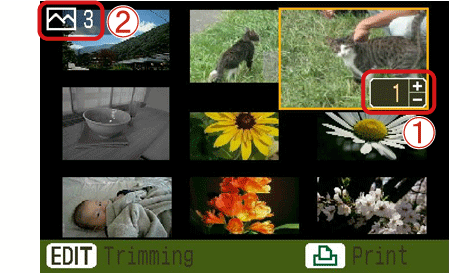
7. If you press either the <SET> button ( ) or the <Enlarge> button (
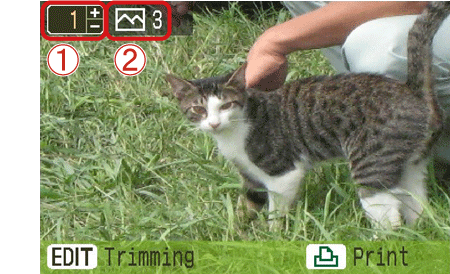
 ) with the image selected, the image will be enlarged to the size of the monitor (Single View). As described in Step 6, the number of copies can be set by pressing the <COPIES> buttons (
 ).
).
8. If you press the <DISP.> button ( ), the current settings will appear.
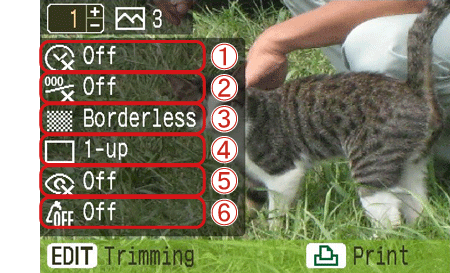
When setting [Date] or [Borders], make sure those settings are applied.
 [Date]
 [File No.]
 [Borders]
 [Page Layout]
 [Correct Red-Eye]
 [My Colors]
Press the <Print> button ( ) after checking.
Press the <Print> button (
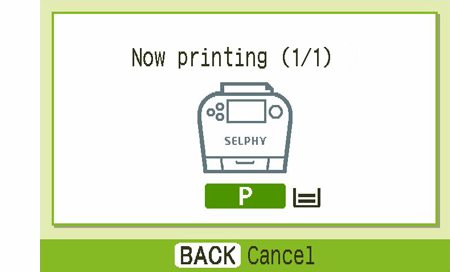
9. The following screen appears and printing starts.
This completes the process of making prints from the memory card.


