


Reinstalling the scanner driver from the CD-ROM (Macintosh)
Solution
CAUTION
* If your Mac OS X is used with multiple users (accounts), log in as the first created administrator to install the software. You cannot install the software if you logged in with an added administrator account.
* The reinstallation will require to restart the computer in the process. Read this page carefully before reinstalling the driver.

* The main menu of the CanoScan Setup appears.


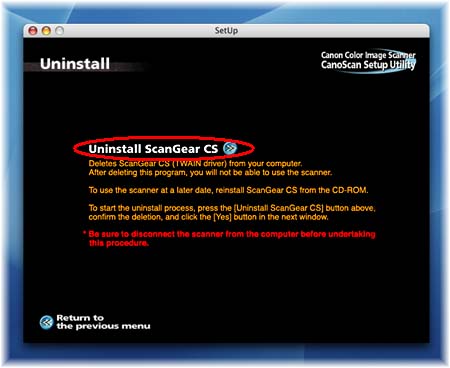
After ScanGear CS is uninstalled, a message prompting you to restart the computer will be displayed.

Click [Yes] and the computer will be automatically restarted.

The uninstallation of the scanner driver is completed.
In the next step, install the scanner driver after the computer is restarted.
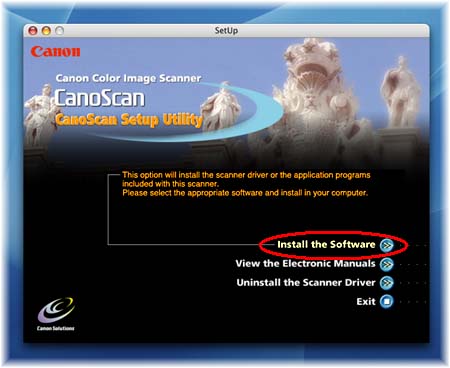
When the menu screen appears, click [Install the Software].

When the screen to select software is displayed, make sure that ScanGear is checked and remove the checkmarks of the other applications. Click [Install].
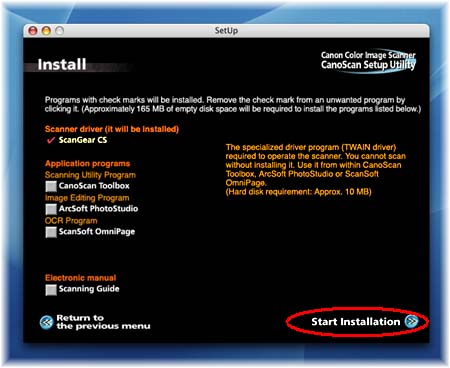
13. Following the instruction on the screen, click [Install] or [Next] to install the selected softwares.
During the installation, do not click any items other than those specified in dialogs (messages) that appear on the screen.
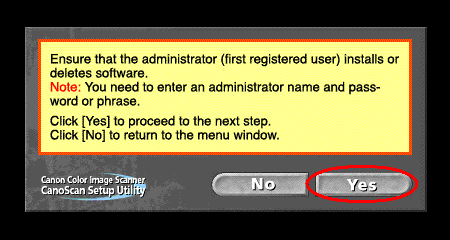
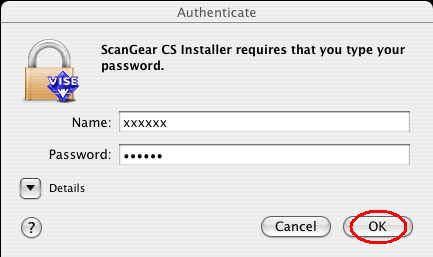
If "Authenticate" screen is displayed, enter the administrator's name and password.
* If "Authenticate" screen is displayed, enter the administrator's (first created user) name and password and then click [OK].
* Do not click [Stop] while the following dialog box is displayed.

* When the message "Installation was successful." appears, click [Quit] to close the installer.

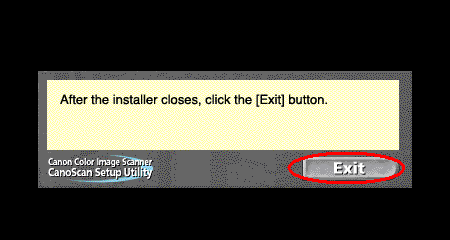
14. When the message "After the installer closes, click the [Exit] button. " is displayed, click [Exit].
A message prompting you to restart the computer will be displayed.
The computer will restart.

CAUTION
* Make sure that the lock switch is released.
* Connect the scanner to the computer with the supplied USB cable.
* The scanner may not work properly if the scanner is connected via USB hub. In this case, connect the scanner to the computer directly.