Installing the Software Applications (Mac OS X)
Solution
This section describes how to install the software applications on your computer.
IMPORTANT
- The information provided here uses Mac OS X (version 10.6) as examples. Depending on your Mac OS X or software version, the screen indications and operation procedures may differ slightly.
- Some of the images that appear on this page contain a specific camera model name, however the actual model name varies depending on the camera used.
1. Quit any software that is running.
2. Load the [Canon Digital Camera Solution Disk] CD-ROM that came with your camera into the computer's CD-ROM drive.

3. Double-click the CD-ROM icon that appears on the desktop.
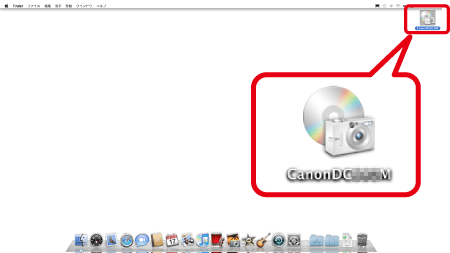
4. The following window will appear, so double-click on [Canon Digital Camera Installer] to start it.

5. The following window appears.
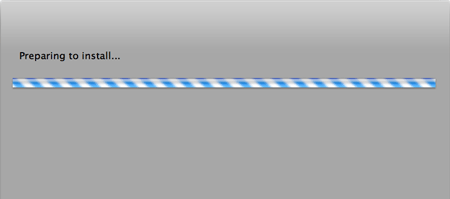
6. The following window appears.
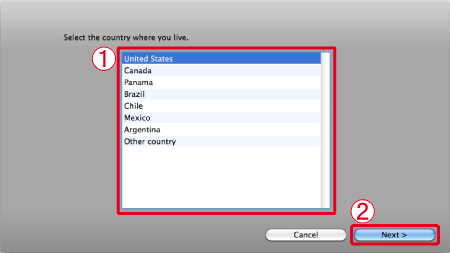
Select  the country where you live.
 the country where you live.
Click  [Next].
 [Next].
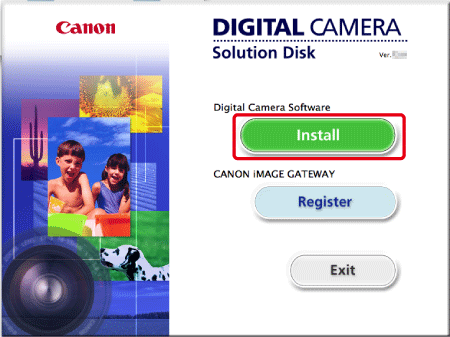
7. The following window appear. Click [Install].
8. The following window appear.
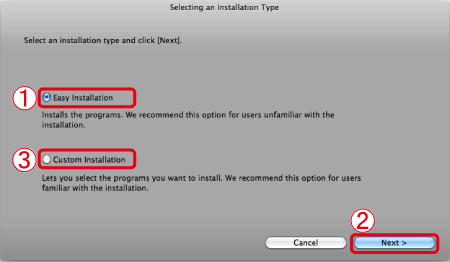
If you select  [Easy Installation], all the software applications are installed automatically.
 [Easy Installation], all the software applications are installed automatically.
After you have selected the installation method, click  [Next].
 [Next].
REFERENCE
Select  [Custom Installation] to select the software applications that you want to install.
 [Custom Installation] to select the software applications that you want to install.
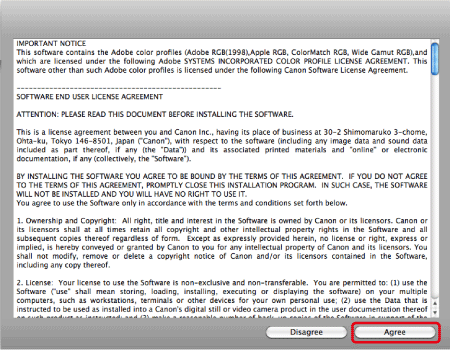
9. The following window appear. Read the content carefully, and then click [Agree].
REFERENCE
If you selected [Custom Installation] in Step 8, the following screen will appear after Step 9.
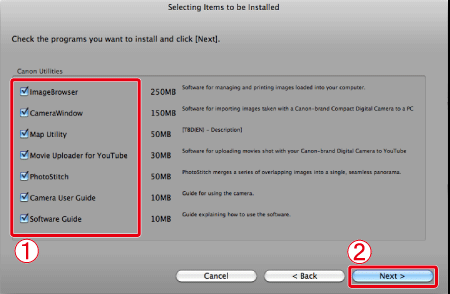
 The selected (
 ) software applications will be installed. (Deselect the checkbox (
 ) of the software applications that you do not wish to install.)
After confirming that you have selected all the software applications for installation, click  [Next] and then proceed with the installation.
 [Next] and then proceed with the installation.
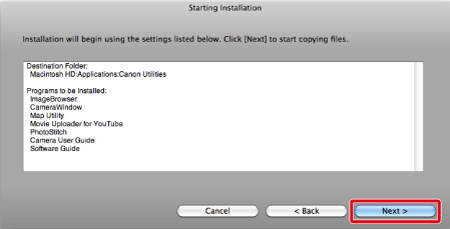
10. The following window appear. Click [Next].
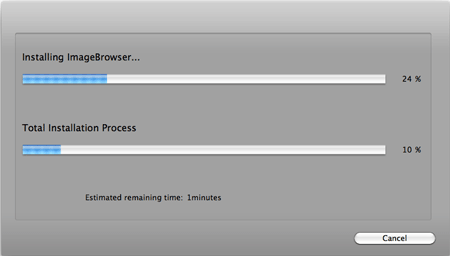
11. The following window appears, and installation starts.
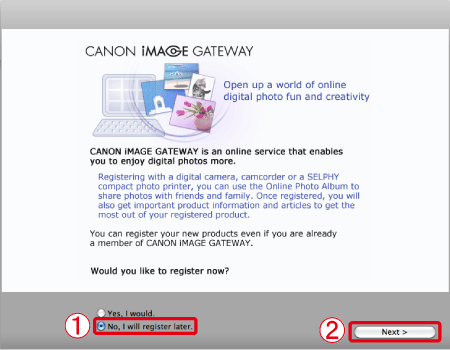
12. The following window may appear and if it does not, please proceed to step 14.
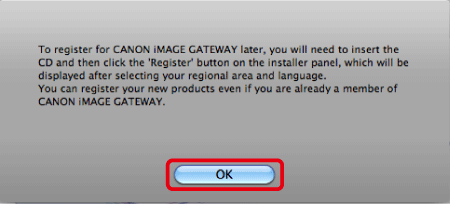
13. The following window appears. Click [OK].
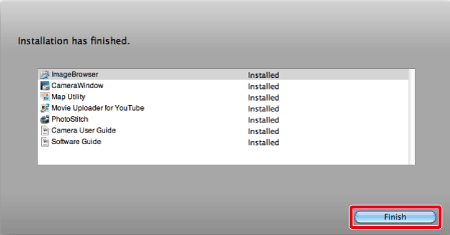
14. The following window appears. Click [Finish].
