Solution
After loading paper in the paper source, configure the printer driver using the following procedure before printing.
IMPORTANT
Operational requirements and restrictions are indicated at the end of this page. Be sure to read these items carefully in order to operate the printer correctly, and to avoid damage to the printer.
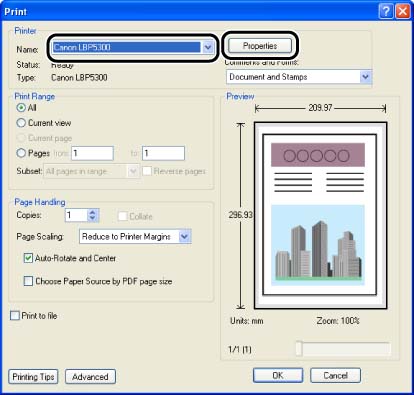
1. Select [Print] from the [File] menu in the application. Select the name of this printer for [Name] or [Printer Name], and then click [Properties].
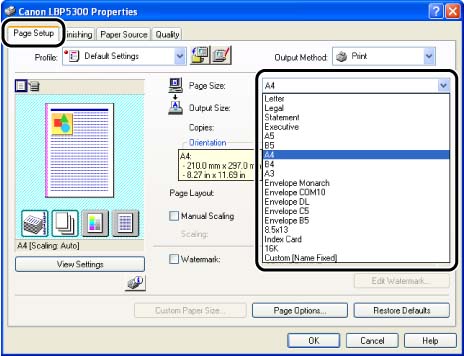
2. Display the [Page Setup] sheet, then from [Page Size], select the size of a document that you have created with the application.
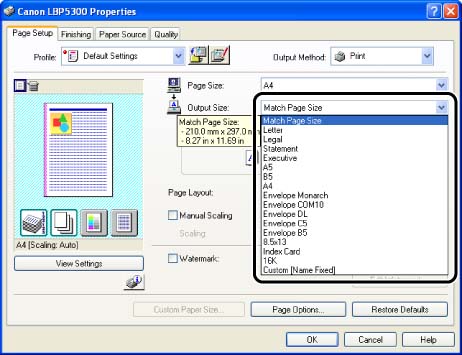
3. From [Output Size], select the size of the loaded paper as needed.
Leave the setting at [Match Page Size] when the paper size specified for [Page Size] and that of the paper loaded in the paper cassette are the same, since there is no need to change the setting.
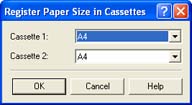
4. Make sure that the setting in the [Register Paper Size in Cassettes] dialog box in the Printer Status Window and the paper size in [Output Size] match when printing from the paper cassette.
For details on displaying the [Register Paper Size in Cassettes] dialog box, see "How to load standard size paper in the paper cassette" in Related Information at the end of this page.
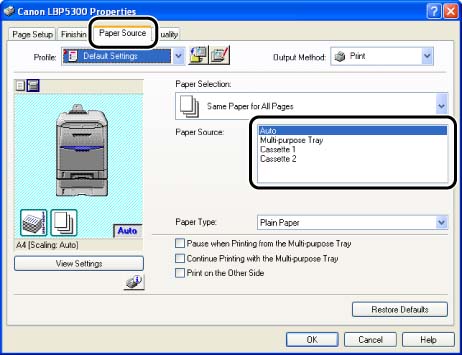
5. Display the [Paper Source] sheet, then select [Paper Source].
Specify the same setting as the one for [Paper Source], although the setting for [Paper Source] changes to ones such as [First Page] or [Other Pages] when [Paper Selection] is set to other than [Same Paper for All Pages].
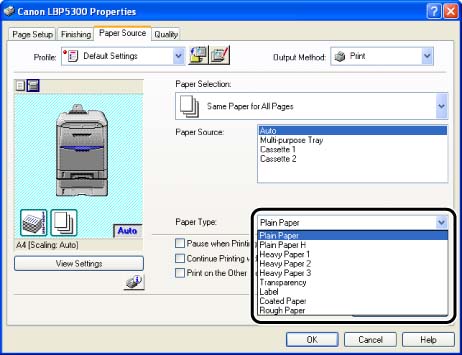
6. Select the paper type specified in [Paper Type].
NOTE
Load paper based on the following [Paper Type] criteria:
| Paper Type | Printer Driver Setting |
| Plain paper | 60 - 105 g/m2 | [Plain Paper] |
| [Plain Paper H] *1 |
| [Rough Paper] *2 |
| Heavy paper | 106 - 120 g/m2 | [Heavy Paper 1] |
| 121 - 176 g/m2 | [Heavy Paper 2] |
| 177 - 220 g/m2 | [Heavy Paper 3] |
| Transparency | [Transparency] |
| Label | [Label] |
| Coated paper | 105 - 120 g/m2 | [Coated Paper] *4 |
| Envelopes | *5 |
NOTE
*1 Specify this option if you want to give a gloss to plain paper (75 - 105 g/m2) to be printed.
*2 Specify this option when a paper jam occurs or when you want to improve the fixation on printing coarse paper (75 - 105 g/m2) with [Plain Paper] selected.
*3 It is not recommended to print on heavy paper that weighs between 177 and 220 g/m2. However, specify [Heavy Paper 3] if you have to perform the printing.
*4 When you print coated paper that weighs between 121 and 160 g/m2, set [Paper Type] to [Coated Paper], click [Finishing Details] in the [Finishing] sheet, click [Advanced Settings] in the [Finishing Details] dialog box, and then set [Fixing Mode] in the [Advanced Settings] dialog box to [Mode 1].
*5 When printing envelopes, the printer automatically applies the appropriate print mode to the envelope type by specifying [Output Size] in the [Page Setup] sheet.
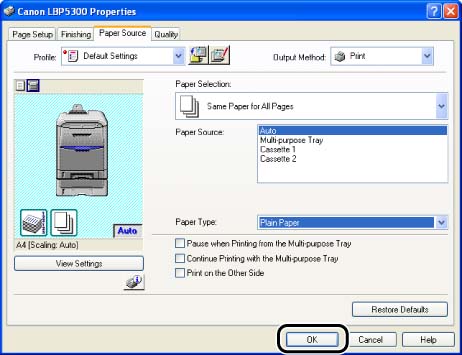
7. Click [OK] to close the Properties dialog box.
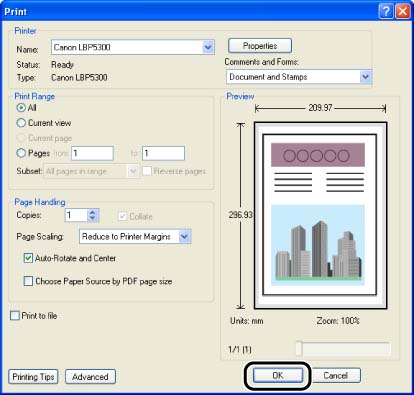
8. Click [OK] to start printing.
IMPORTANT
The print will be automatically reduced or enlarged to fit on the page when the settings for [Page Size] and [Output Size] are different.
NOTE
a. For more details on the settings for the printer driver, see Online Help. For details on methods for displaying Online Help, see "Chapter 5 Printing a Document" in User's Guide (PDF manual) in the CD-ROM supplied with the printer.
b. If you set [Page Size] to [Envelope DL], [Envelope COM10], [Envelope C5], [Envelope Monarch], or [Envelope B5], the following message appears, and [Paper Type] is automatically specified.
