Adding Cinema-Look Filters to Recorded Scenes (LEGRIA mini)
Solution
You can add Cinema-Look filters to the movies you have recorded. The movies will be saved in MP4.
The procedure for adding Cinema-Look filters to recorded scenes is explained below.
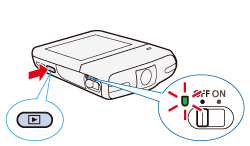
1. Press < > to set the camcorder to <Playback> mode.
 > to set the camcorder to <Playback> mode.
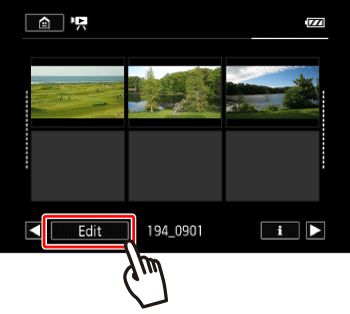
2. Touch [Edit].
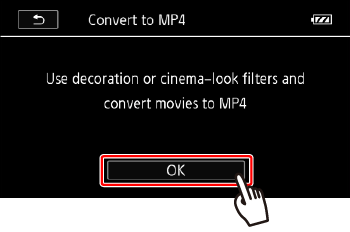
3. Touch [Convert to MP4].

4. Touch [OK].
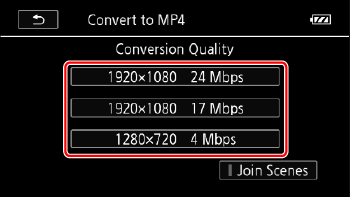
5. Select the desired video quality of converted movies.
NOTE
Before selecting the video quality, touch [Join Scenes] to join the converted movies into a single scene.
| Video quality and resolution of the original scene | Video quality and resolution of the converted scene | ||
|---|---|---|---|
| 24 Mbps (1920x1080) | 17 Mbps (1920x1080) | 4 Mbps (1280x720) | |
| 24 Mbps (1920x1080) | ○ | ○ | ○ |
| 17 Mbps (1920x1080) | ○ | ○ | ○ |
| 4 Mbps (1280x720) | - | - | ○ |
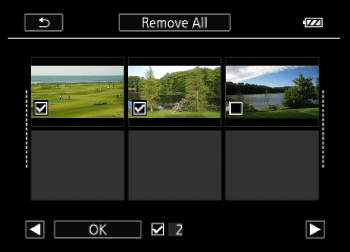
6. Touch the individual scenes you want to decorate.
- A checkmark
 will appear on the scenes you touch. The total number of selected scenes will appear next to the
- Touch a selected scene to remove the checkmark.
NOTE
To remove all checkmarks at once, touch [Remove All] > [Yes].
7. Touch [OK].
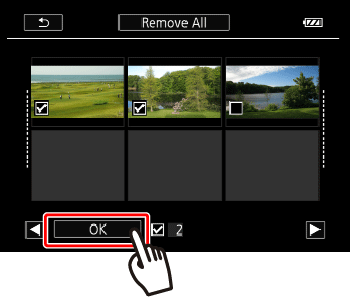
8. Touch [Next].

9. Touch [FILTER1].
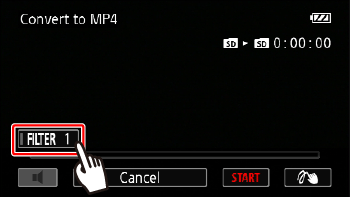
10.  Select the filter you want to add, and then
  touch [OK].
 Select the filter you want to add, and then
  touch [OK].
NOTE
To remove the filter, touch [FILTER1-7].
11. Touch [START] to convert the scene with the filter added.
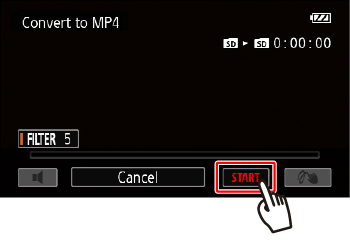
NOTE
Touch [STOP] to interrupt the operation while it is in progress
12. Touch [OK].

This concludes the procedure for adding Cinema-Look filters to recorded scenes.
NOTE
After repeatedly recording, deleting and editing scenes (fragmented memory), MP4 conversion may stop working correctly.
The following scenes cannot be converted/resized using MP4 conversion.
- Slow motion scenes recorded using 3 Mbps video quality ([x1/4] speed).
- Interval scenes with the icon


