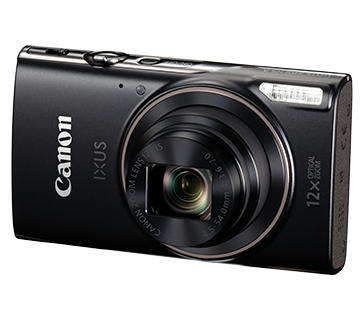
Saving AVCHD video files recorded on the camcorder to a computer with PIXELA Transfer Utility LE using a USB connection (VIXIA mini X / LEGRIA mini X)
Solution
IMPORTANT
- To import recorded videos to a computer, it is necessary to download PIXELA Transfer Utility LE from the PIXELA Homepage and install it on your computer.
- An internet connection is necessary for downloading. For more information on the installation procedure, refer to Installing PIXELA Transfer Utility LE to save AVCHD movie files to your Windows computer (VIXIA mini X / LEGRIA mini X).
1. Camcorder: Power the camcorder using the compact power adapter.
2. Camcorder: Press and hold the < > button to set the camcorder to Playback mode.
 > button to set the camcorder to Playback mode.
3. Camcorder: Open the [Movie Playback] index screen for AVCHD movies.

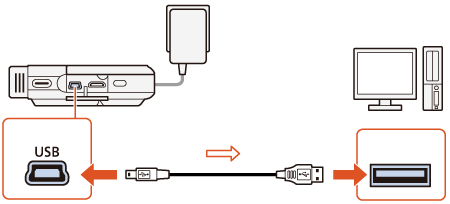
4. Connect the camcorder and the computer with the USB cable supplied with the camcorder.
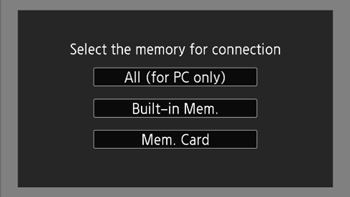
- Camcorder: Select [All (for PC only)] in the camcorder's LCD.
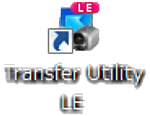
5. Computer: Double-click the icon shown below to display the start screen.
1. Click [Video file import].

2. Select the memory that contains the video files you want to import.
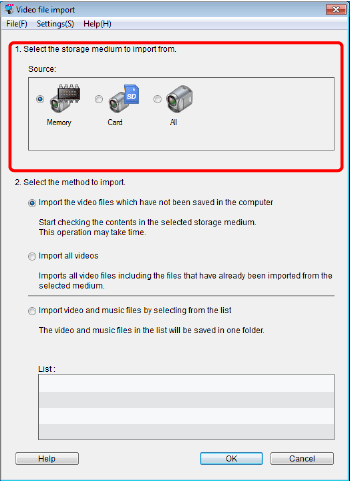
The icons will vary depending on the device connected.
 | The built-in memory of the camcorder. |
 | The SD Memory Card inserted in the camcorder. |
 | Both the built-in memory and SD Memory Card in the camcorder. |
 | A card reader/writer or other devices. |
3. Select the method to import, and then click [OK]
- Import the video files which have not been saved in the computer
Imports the files which have not been imported to the computer yet.
- Import all videos
Imports all files in the selected memory.
- Import video and music files by selecting from the list
Imports video files included in the list you created in the camcorder and music files. The groups with checkmark will be imported.

REFERENCE
Imported video files will be saved in the following location by default. You can change the destination to save imported files by clicking [Preferences...] in the [Settings] menu.
- Windows Vista / Windows 7 / Windows 8
C: Users\(User account name)\(My) Videos\Transfer Utility LE
* Files are saved in '(My) Documents' if '(My) Videos' does not exist.
- Windows XP
C: \Documents and Settings\(User account name)\My Documents \My Video\Transfer Utility LE
* Files are saved in '(My) Documents' if '(My) Videos' does not exist.

