Sending Images to Web Services (CANON iMAGE GATEWAY/SNS/Email)
Solution
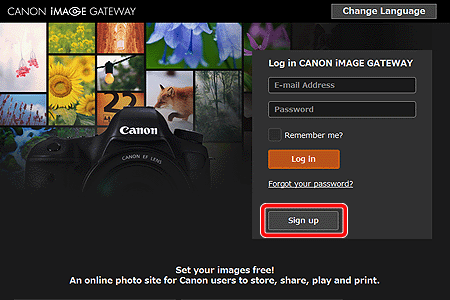
CANON iMAGE GATEWAY is a free service for Canon users. When you perform the settings to link the camera to CANON iMAGE GATEWAY, you will be able to send images from the camera to social network services supported by CANON iMAGE GATEWAY, and email addresses.
Additionally, images can be sent to a computer using the specialized software (Image Sync).
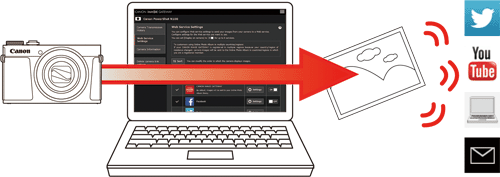
Supported Web Services:
- CANON iMAGE GATEWAY Online album
- YouTube
- Flickr
- Google Drive
- Irista
- Computer (Image Sync)
IMPORTANT
- For more information on CANON iMAGE GATEWAY system requirements and information on countries and regions where the service is available, please refer to [Help] on the bottom of the CANON iMAGE GATEWAY top page.
- You can continue to register other Web services other than CANON iMAGE GATEWAY to your account. For further details, check the websites for each web service you want to register.
- Separate ISP connection and access point fees may be applicable.
- The position and shape of the operation buttons or screens displayed may differ according to the model you use.
NOTE
Computer/smartphone setting procedures are indicated by the [  ] icon and camera setting procedures are indicated by the [
  ] icon.
 ] icon and camera setting procedures are indicated by the [
  ] icon.
Please complete the CANON iMAGE GATEWAY registration procedures.
If you have already completed the registration procedure, please proceed to Making Camera and Web Service Settings.
If you have already completed the registration procedure, please proceed to Making Camera and Web Service Settings.
 1. Access the CANON iMAGE GATEWAY page for your region from http://canon.com/cig.
 1. Press the power button to turn the camera on.
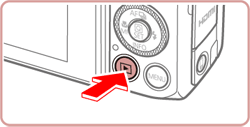
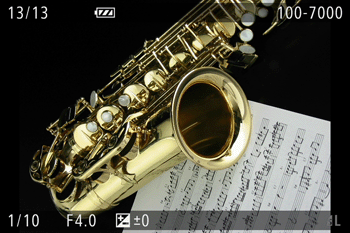
- An image will be displayed, and the camera will be set to playback mode.
 2. Press the < Wi-Fi > button (
 ) to display the Wi-Fi menu.
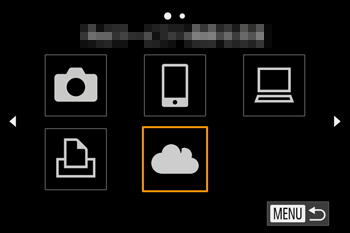
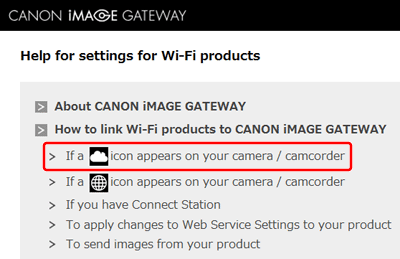
 3. Refer to the procedures explained on the CANON iMAGE GATEWAY help page to complete the settings.
- Connect the camera to an access point (router) and make the settings.
NOTE
- Please confirm this setting by accessing [Help] > [Help for settings for Wi-Fi products] from the CANON iMAGE GATEWAY top page.
- Settings for individual Web services can be made during the final phase of the procedure. Click [Settings] to make the settings.(To make settings for email, enter the desired email address in the destination field.)
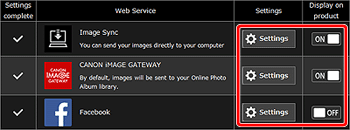
 4. After you have completed the setting, set [Display on product] to [ON].
 5. Touch the camera’s [
  ] icon to refresh the screen. If the icon for the desired Web service is displayed, the setting is complete.
 1. Choose the icon of the desired Web service.
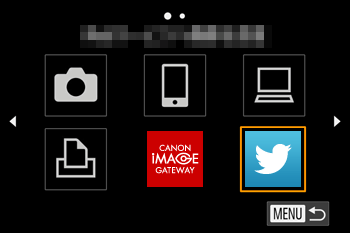
- The following sections explain the setting procedures when Twitter has been selected.
NOTE
- Automatic connections will be made with access points (routers) you have previously connected to. When connecting to a new router, select the access point (router) name while referring to the example images below.
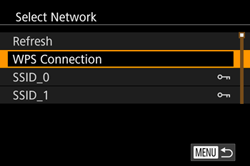
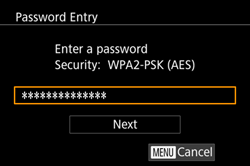
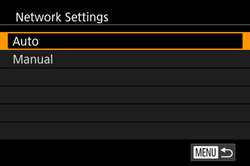
- Enter the password of the access point (router), and then choose [Auto].
 2. The following screen appears.
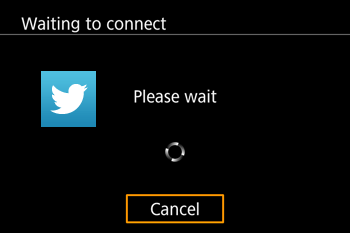
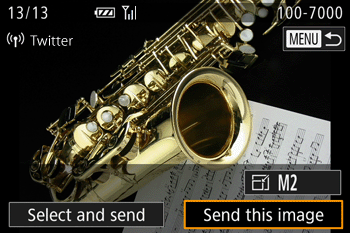
 3. After the connection has been established, the image selection screen is displayed.
NOTE
- After you have accessed the Wi-Fi menu once, the recent target device is listed first. You can easily connect again by selecting the device name.
After you have made computer image sync settings, you can touch the [  ] icon to send all the images in the camera to the computer (transfer via server). Please use the Image Transfer Utility software. Settings for the camera, web service, and image sync should be made before performing the procedures below.
 ] icon to send all the images in the camera to the computer (transfer via server). Please use the Image Transfer Utility software. Settings for the camera, web service, and image sync should be made before performing the procedures below.
 1. Prepare the software.
- The Image Transfer Utility software can be used by installing CameraWindow.

NOTE
- If the CameraWindow software is not installed on your computer, please refer to Installing the Software.
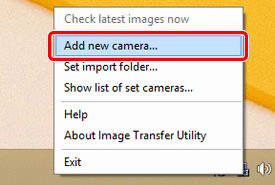
 2. Windows: Right-click the [
  ] icon on the task bar, and choose [Add new camera].
NOTE
- Macintosh: Choose the [
 ] icon from the dock and click [Add new camera].
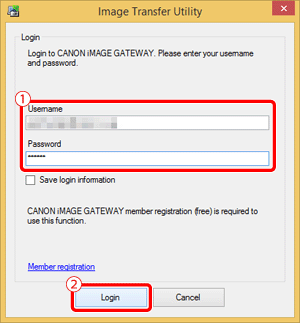
 3. Enter your [Username] and [Password] (
 ), and click (
 ) to log-in to CANON iMAGE GATEWAY.
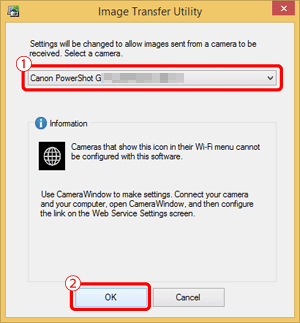
 4. Select the desired camera (
 ), click [OK] (
 ), and then complete the settings.
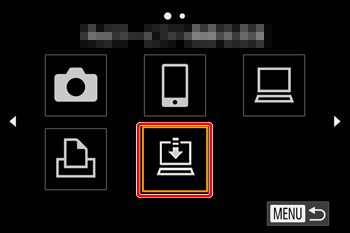
 5. When you select the [
  ] icon on the camera, images will be sent to the computer via the server.
NOTE
If the computer does not start up, images will not be saved. Please be careful when saving images.
For more detailed information, please access the CANON iMAGE GATEWAY top page, and then click [Help] > [Help for settings for Wi-Fi products] >[How to use Image Sync and set options].


