21-Mar-2013
8201785000
 >: Candlelight / <
 >: Handheld Night Scene / <
 >: HDR Backlight Control / <
 >:Live View shooting/Movie shooting button / <
 >: Quick Control button / [
  ]: Creative Filter / <
 ><
>< >: Cross keys / <
 >: Main Dial / <
 >: Setting button / <
 >: Magnify button / [
  ]: Magnify button / [
  ]: Continuous shooting /
  : Self-timer with continuous shooting /
  : RAW /
  : JPEG Large
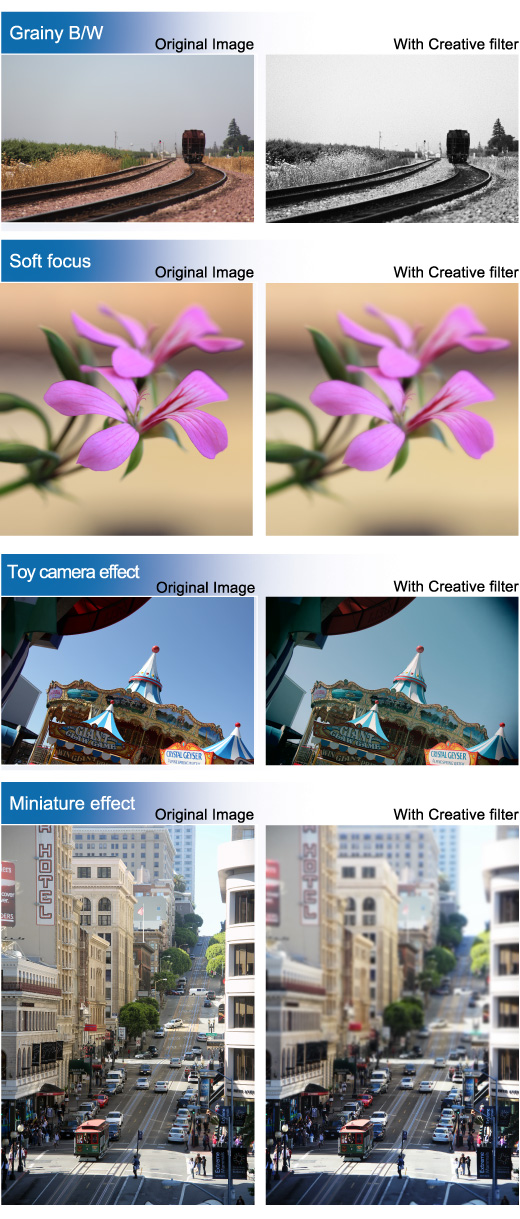
| Grainy B/W | Makes the image grainy and black and white. You can change the black and white effect by adjusting the contrast. |
| Gives the image a soft look. You can change the degree of softness by adjusting the blur. | |
| Gives the effect of a fish-eye lens. The image will have a barrel-type distortion. | |
| Art bold effect | Makes the photo look like an oil painting and the subject look three dimensional. You can adjust the contrast and saturation. Note that the sky, white walls, and similar subjects may not be rendered with a smooth gradation and may look irregular or have significant noise. |
| Water painting effect | Makes the photo look like a watercolor painting with soft colors. You can adjust the color density. Note that night scenes or dark scenes may not be rendered with a smooth gradation and may look irregular or have significant noise. |
| Toy camera effect | Darkens the photo’s corners and applies a color tone that makes it look as if it was shot by a toy camera. You can change the color cast by adjusting the color tone. |
| Miniature effect | Creates a diorama effect. You can change where the image looks sharp. |
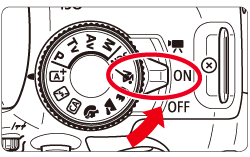 ><> or <>.> button.
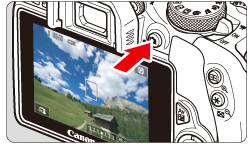 > button.
 > keys to select [ ] (Creative filter) on the screen’s right side.
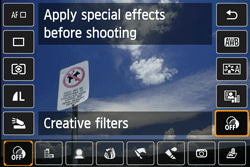 > keys or turn the <> dial to select a filter.
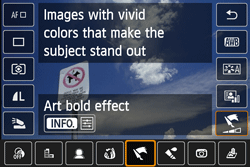 > keys or turn the <> dial to adjust the filter effect, then press <>.>, press the <keys to move the white frame to where you want the image to look sharp, then press <>.
 > button (or tap on [ ] on the lower right), you can switch between the white frame’s vertical and horizontal orientations. The AF method will be FlexiZone.> or <>, the camera will still shoot in single shooting mode.+ ] or [ ] or if AEB, white balance bracketing, or Multi Shot Noise Reduction is set.

 > keys to select the [
  ] tab. Press the <
 > keys to select [Creative filters], then press <>.
 > key to select the image you want to apply a filter to.
 > button, you can switch to the index display and select an image.
 >, the types of Creative filters will be displayed.
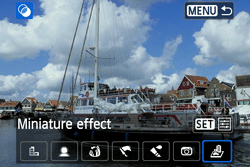 > keys to select a Creative filter, then press <>.> keys to adjust the filter effect, then press <>.> keys and select the image area (within the white frame) where you want the image to look sharp, then press <>.
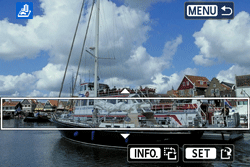
 ] at the screen’s bottom), you can switch between the white frame’s vertical and horizontal orientations.
 + or images, the Creative filter will be applied to the image and the image will be saved as a JPEG image.image and a Creative filter is applied to it, the image will be saved in the aspect ratio that was set.