The image is blurred or out of focus
15-May-2013
8201844800
Solution
Autofocus may not work well on the following subjects. In such case, focus manually.
Adjust the zoom before you start the procedure

NOTE
The position and shape of the operation buttons, screens displayed, and setting items may differ according to the model you use.
You can adjust the focus manually and use the peaking function to assist you or you can let the camcorder focus for you by using autofocus.
1. Set the mode switch to <M> or <CINEMA>.

2. Set the power switch to <CAMERA>.

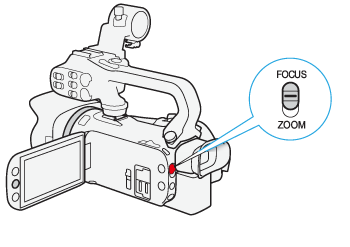
3. Set the Focus/Zoom ring switch to <FOCUS>.
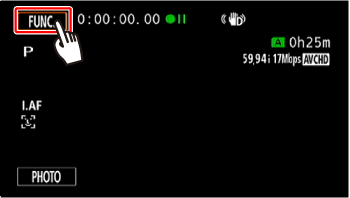
4. Touch [  ].
].
 ].
].
5. Touch [  Focus].
 Focus].
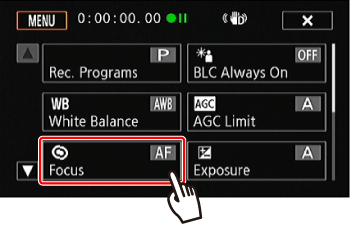
6. Touch [  ].
].
 ].
].
7. Touch a subject that appears inside the frame.
The Touch AF mark [  ] will flash and the focusing distance will be adjusted automatically. You have the option to further adjust the focus manually as necessary.
 ] will flash and the focusing distance will be adjusted automatically. You have the option to further adjust the focus manually as necessary.
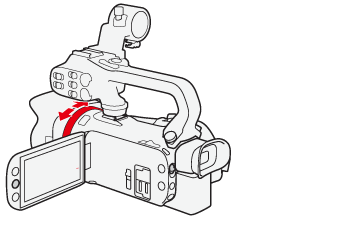
8. If necessary, turn the focus/zoom ring to further adjust the focus.
The center of the screen will be magnified to help you focus more easily. You can also turn off this function with the [Focus Assistance] setting.
The focusing distance displayed will change as you adjust the focus with the focus/zoom ring.
To return to autofocusing, carry out steps 3 and 4 again, and then touch the [  ] button.
 ] button.
REFERENCE

- To switch to autofocus without opening the focus controls, press AF/MF button. In such case, Touch AF will not be available.
- You can use the [
 ] > [Focus Ring Response] setting to adjust the sensitivity of the focus ring.
 - You can use the [
 ] > [Focus Ring Direction] setting to select which direction to turn the focus ring.
When focusing manually, you can set a preset position for the focus in advance so that you can later return to that preset focus position instantly.
1. Adjust the focus following step 7 in the "Manual Focus Adjustment" procedure, and then touch [  ].
].
 ].
].The current focus position will be set as a preset focus position.
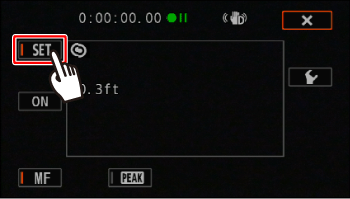
2. After adjusting the focus, touch [  ]* to return to the preset focus position.
 ]* to return to the preset focus position.
*[  ] will be grayed out while adjusting the focus or zoom.
 ] will be grayed out while adjusting the focus or zoom.
- Touch [
 ] again to cancel the current preset focus position.
NOTE
- The preset focus position will be canceled when the camcorder is turned off.
- When the camcorder is in <AUTO> mode, the focus preset function cannot be used.
When peaking is activated, edges in focus on the screen will be highlighted in red, blue or yellow. In addition, you can choose to switch the screen to black & white, further emphasizing the edges.

When carrying out step 5 for focusing manually, touch the [  ] button to turn it to [
  ] so that a colored outline appears on an in-focus subject in the scene.
 ] button to turn it to [
  ] so that a colored outline appears on an in-focus subject in the scene.
- If you do not use the peaking function:
Touch the [  ] button again to turn it to [
  ].
].
 ] button again to turn it to [
  ].
].- Choose the peaking color.
If you touch [  ], the following screen appears.
 ], the following screen appears.
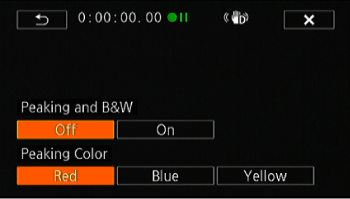
- For the black & white setting: Touch [Off] or [On]
- For the peaking color: Touch [Red], [Blue] or [Yellow]
NOTE
The peaking effect and black & white picture will not appear in your recordings.