26-Jul-2013
8201890600
 > button to turn the camera on.
 ><
>< > buttons or turn the <
 > dial to choose an image.
 > button.
 > button or turn the <
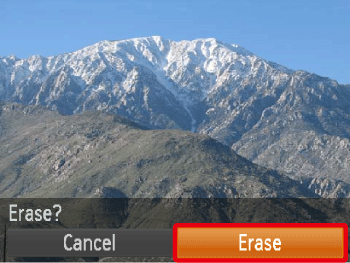
 > dial to choose [Erase], and then press the <
 > button.
 > button to turn the camera on.
 > button.
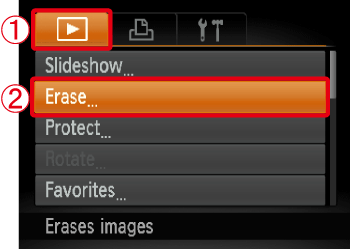
 Press the <
 ><
>< > buttons to choose the [
  ] tab.
 Press the <
 ><
>< > buttons or turn the <
 > dial to choose [Erase], and then press the <
 > button.
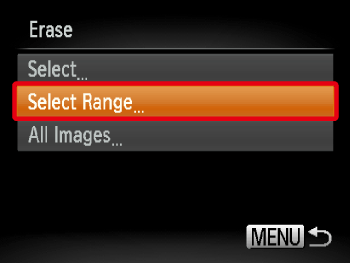
 ><
>< > buttons or turn the <
 > dial to choose [Select Range], and then press the <
 > button.
 > button.
 ><
>< > buttons or turn the <
 > dial to choose the [First Image] in the series of images that you want to erase, and then press the <
 > button.
 ><
>< > buttons or turn the <
 > dial to choose the [Last image] and then press the <
 > button.
 ><
>< > buttons or turn the <
 > dial to choose the [Last Image] in the series of images that you want to erase, and then press the <
 > button.
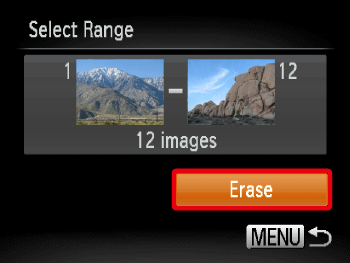
 ><
>< > buttons to choose [Erase].
 > button to erase the images in the specified range.