24-Jul-2014
8202107900
 > button to turn it on.
 ) tab, press the <
 ><
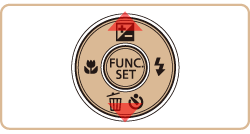
>< > buttons to choose [Protect], and then press the <
 > button.

 ><
>< > buttons to choose [Unprotect All Images], and then press the <
 > button.
 ><
>< > buttons to choose [OK], and then press the <
 > button.
 > button to turn it on.
 ><
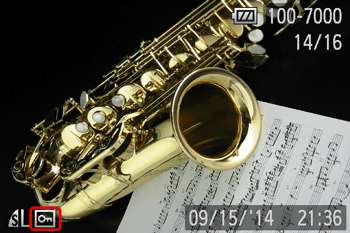
>< > buttons to choose the protected image you want to unlock. (The [
  ] icon appears on protected images.)
 > button.
 ><
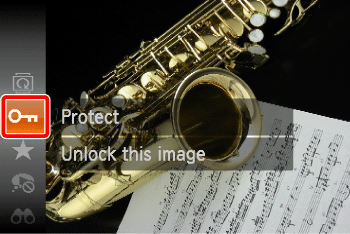
>< > buttons to choose [
  ], and then press the <
 > button.
 ] icon will disappear and the image will be unlocked.
 > button to turn it on.
 ><
>< > buttons to select the image you want to erase.
 > button.
 ><|G0099807||3]]> buttons, choose [ Erase], and then press the <
 > button.
 ><
>< > buttons to choose [Cancel], and then press the <
 > button.