Issue
Cause and Solution
Before Configuring Wired Settings
REFERENCE
Make sure that the printer is turned on.
1. You will need an Ethernet cable (sold separately).
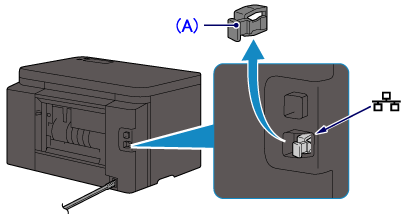
2. Remove the Cap (A) from the port located on the left side at the back of the printer.
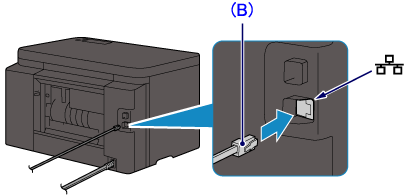
3. Connect the printer and a network device (router, etc.) with an Ethernet cable (B).
CAUTION
Do not connect to any other port.
4. Confirm that the following screen is displayed.
If another screen is displayed, press the Setup button (C) on the printer.
Press the Setup button.
5. Use the


button (D) to select [Device settings].
Press the OK button.
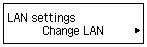
6. Select [LAN settings].
Press the OK button.
7. Select [Change LAN].
Press the OK button.
8. Select [Wired LAN active].
Press the OK button.
9. When the left screen appears, press the Setup button.
When connection is complete, [LAN] appears at the right of the screen.
The wired LAN setup is completed.
Install the Software.