Solution
The camera can add the shooting date to images, in the lower-right corner.
IMPORTANT
- Note that date stamps cannot be edited or removed, so confirm beforehand that the date and time are correct.
- In some shooting modes it may not be possible to configure the [Date Stamp] setting.
- For setting or changing the date and time, please click here.
- Here, instructions are given using PowerShot SX420 IS as an example. The position and shape of the operation buttons, the screens displayed, and the settings will differ depending on your device model.
For a list of shooting modes in which the [Date Stamp] setting can be configured, please refer to the
table below.
- The procedure for adding a date stamp to images during shooting is explained below.
2. Press the [MENU] button.
3. Press the [

], [

] buttons to select the [

] tab (

).
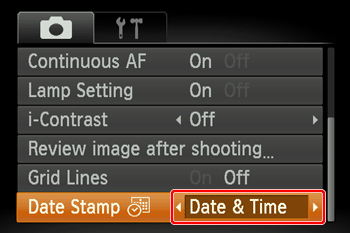
Press the [

], [

] buttons to select (

) [Date Stamp].
4. Press the [

], [

] buttons to choose [Date] or [Date & Time].
Press the [MENU] button when finished.
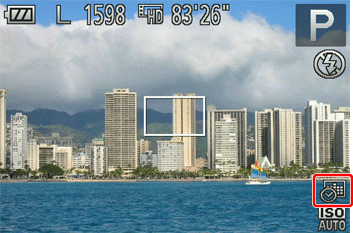
5. When [Date Stamp] is set to [Date] or [Date & Time], [

] is displayed on the LCD monitor.
6. The [Date Stamp] will be added to the images as shown below:

: [Date]

: [Date & Time]
NOTE
- It is not possible to edit the displayed date, color, style, or position of date stamps.

 ], [
], [  ] buttons to select the [
  ] tab (
 ).
). ], [
], [  ] buttons to select (
 ) [Date Stamp].

 ], [
], [  ] buttons to choose [Date] or [Date & Time].
 ] is displayed on the LCD monitor.

 : [Date]
 : [Date & Time]
 /
/  /
/  /
/  /
/  /
/  /
/  /
/ 
 /
/  /
/  /
/  /
/  /
/  /
/ 